You have just survived a ten-hour flight, your legs are cramping, and all you want is to be in your own bed. Instead of heading to the exit, however, you turn a corner to face a soul-crushing sea of exhausted passengers waiting in a zigzag line. This specific bottleneck is the exact moment most vacationers wish they had Global Entry.
Think of this membership as a FastPass for the airport, allowing you to bypass the crowds that everyone else must endure. By securing this status, you transform from a standard passenger into a VIP who breezes through the terminal while others wait. Managed by U.S. Customs and Border Protection, the initiative is one of several Trusted Traveler Programs created to speed up processing for low-risk flyers. Because the government has already checked your background, they trust you to re-enter the country using a quick automated kiosk rather than answering questions at a counter.
While the setup requires some initial effort, the payoff is substantial for anyone who flies abroad even once a year. For a fee that breaks down to just $20 annually, you are buying back hours of your life and securing expedited customs clearance. This small investment is often the only thing standing between a stress-free arrival and a missed connection.
The “Square vs. Rectangle” Secret: Why Global Entry Includes TSA PreCheck Benefits
Most travelers assume they have to choose between TSA PreCheck and Global Entry, or worse, pay for both separately. Think of this relationship like the geometry rule where every square is a rectangle, but not every rectangle is a square. Global Entry is the square; it includes everything TSA PreCheck offers, plus the added superpower of skipping customs lines when you fly back into the United States. If you join Global Entry, you automatically get TSA PreCheck privileges. However, buying TSA PreCheck alone leaves you stuck in the standard line when returning from an international vacation.
Opting for the all-in-one package covers two distinct airport headaches with a single membership. While PreCheck keeps your shoes on and laptop packed during domestic security screenings, Global Entry handles the completely separate process of border control. You are not just paying for a faster security line in Denver; you are securing a status that works when you land from Cancun or London too. The difference in cost is negligible, often just roughly $20 more for a five-year membership, making the upgrade an easy decision for anyone with a passport.
Once approved, you receive a single Known Traveler Number that you enter into airline reservations to activate TSA PreCheck alongside your international arrival benefits. TSA PreCheck alone costs approximately $78 for five years, speeds up domestic security, and does not require a passport. Global Entry costs $100 for five years, includes all PreCheck benefits plus expedited customs, and requires a valid passport. Since the price difference is so small over a five-year period, the next logical question is not whether it is worth it, but how you can get that $100 fee waived entirely.
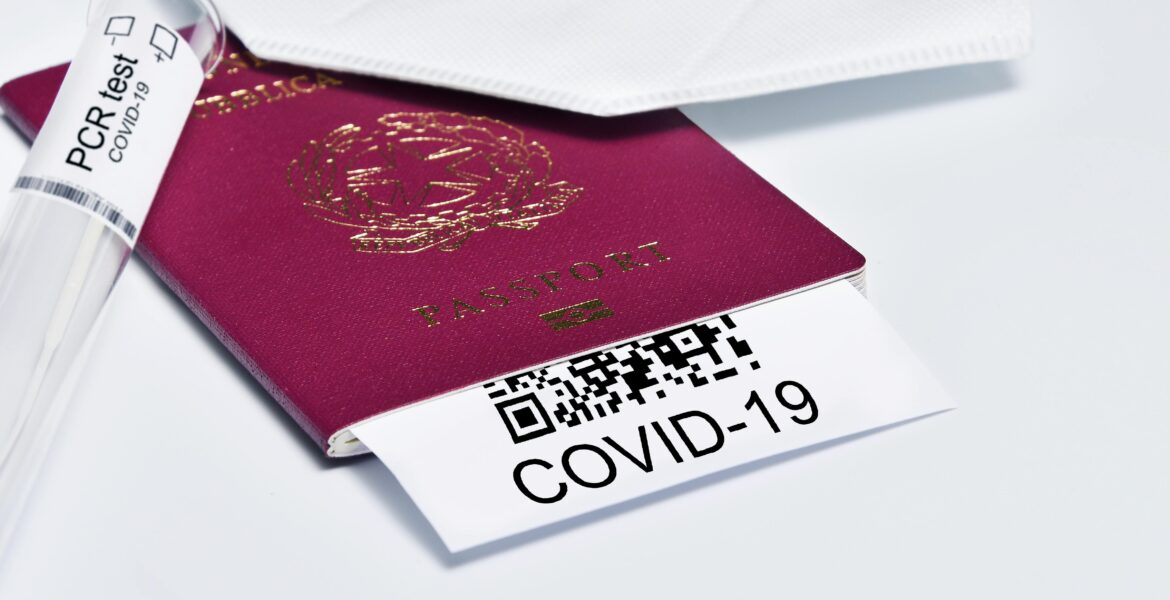
How to Get Global Entry for Free: Credit Cards and the $20-a-Year Math
At first glance, a $100 price tag might feel steep for an airport convenience, but the cost covers a five-year membership. When you break down the math, you are effectively paying $20 annually, less than the price of checking a bag on a single flight, to skip the longest lines at the airport. However, there is an important financial detail: this payment is strictly a processing fee for your application, not a guaranteed purchase of the membership. Because the fee is non-refundable even if you are denied, using a payment method that erases this risk is the smartest way to apply.
Your current wallet might already hold the key to waiving this expense entirely. Dozens of travel rewards cards now include reimbursement for application fees as a standard perk. The process is automatic and surprisingly simple: you pay the $100 government fee using the eligible card, and the bank issues a statement credit a few days or weeks later to cancel out the charge. This benefit typically resets every four to five years, perfectly aligning with the renewal cycle of your membership so you never have to pay out of pocket. Popular travel cards that offer fee reimbursement include the Chase Sapphire Reserve, Capital One Venture X, American Express Platinum Card, United Explorer Card, and IHG Rewards Premier Credit Card.
From Application to Interview: Navigating the DHS Vetting Standards
Applying for Global Entry begins digitally, but it requires more attention to detail than booking a flight. You must create a Trusted Traveler Program account and complete the enrollment process, which asks for five years of employment and address history. Accuracy here is critical; the background check requirements are strict, and even minor discrepancies in your timeline can trigger manual reviews or delays. Treat this online form as a formal declaration, ensuring your passport details and past addresses match official records exactly before paying the non-refundable fee.
After submitting your application, you enter the conditional approval phase. While some travelers receive a notification within 48 hours, the process can sometimes take several months depending on application volumes. Do not panic if you do not hear back immediately; this silence simply means your application is in the queue for manual vetting. You cannot schedule your interview until your status changes to “Conditionally Approved” on your dashboard.
Securing an appointment slot often feels like the most frustrating part of the journey, as enrollment centers at major airports are frequently booked months in advance. The smartest workaround is often to utilize “Enrollment on Arrival,” which allows you to complete your interview spontaneously while clearing customs after returning from an international trip. You simply follow the signs at the passport control area, eliminating the need for a separate trip to the airport just for a ten-minute meeting.
Whether you schedule a formal appointment or use the arrival lane, the interview is essentially a verification chat rather than an interrogation. Have these items ready: a valid passport and any other travel documents listed in your application, a driver’s license or government ID showing your current residential address, a printout of your conditional approval letter from your dashboard, proof of residency such as a utility bill or bank statement if your ID address is outdated, and your permanent resident card if applicable.
What to Do If Your Application Is Stalled or Denied
Sometimes the government moves slower than your vacation plans. If your dashboard remains stuck on “Pending Review,” resist the urge to reapply. Wait times fluctuate wildly, often extending beyond six months during peak periods. While waiting mostly requires patience, you can eventually escalate the issue if your wait exceeds the official processing timeline posted on the CBP website.
Receiving a rejection notification is frustrating, but it is frequently triggered by simple data errors or long-forgotten minor infractions. You are not permanently banned, but you must formally appeal through the CBP Ombudsman, which functions as a neutral referee that reviews your case to see if the denial was a mistake, such as a typo in your address history or a dismissed legal charge from decades ago.
Travelers who face constant extra screening might share a name with someone on a security watch list. Applying for a separate Redress Number helps the system distinguish you from that other individual. Once you have cleared these administrative hurdles and secured your final approval, the focus shifts to ensuring your PreCheck indicator actually appears on your boarding pass.
Kiosks and Known Traveler Numbers: Activating Your Benefits After Approval
Once approved, you do not actually need your physical Global Entry card for air travel; the real magic lies in your Known Traveler Number. You will find this nine-digit number on your online dashboard or the back of your membership card. To trigger your TSA PreCheck benefits, save this number into your frequent flyer profiles or add it manually to existing reservations at least 24 hours before you fly. Without these activation steps, your boarding pass will not show the TSA PreChk stamp, and you will be stuck in the standard security line.
Returning home from an international trip involves a different process that bypasses the traditional paperwork on the plane. Instead of filling out the blue customs declaration form, you proceed directly to the Global Entry lanes. At the kiosk, place your passport photo page on the reader, look at the camera for a quick facial comparison, then collect your printed receipt if issued or simply head to the officer to exit.
It is also helpful to understand the difference between Global Entry and private services like CLEAR. Global Entry speeds up federal customs and security screening, whereas CLEAR only shortcuts the ID check at the airport entrance. They serve different purposes and can be used together.
Your 5-Year Travel Upgrade: A Roadmap for Renewal and Maintenance
Securing Global Entry changes your travel experience from exhausting queues to a smooth welcome home. This five-year investment buys you hours of time and peace of mind, transforming the most stressful part of international travel into a simple walk-through for less than the cost of a checked bag annually.
To keep this privilege, mark your calendar now. You become eligible for renewal one year prior to your membership ending. Renewing before the expiration date ensures you never face a gap in service or a return to the general lanes. Apply today and leave the waiting behind.